Classic Irish Soda Bread.

Irish Soda Bread.
You can buy it from so many places.
The supermarket, the bakery, heck, even your 24 hour convenience store may sell it,but it never is as good as when you bake it yourself.
It’s simple, inexpensive and trust me. You make it one time you will be hooked.
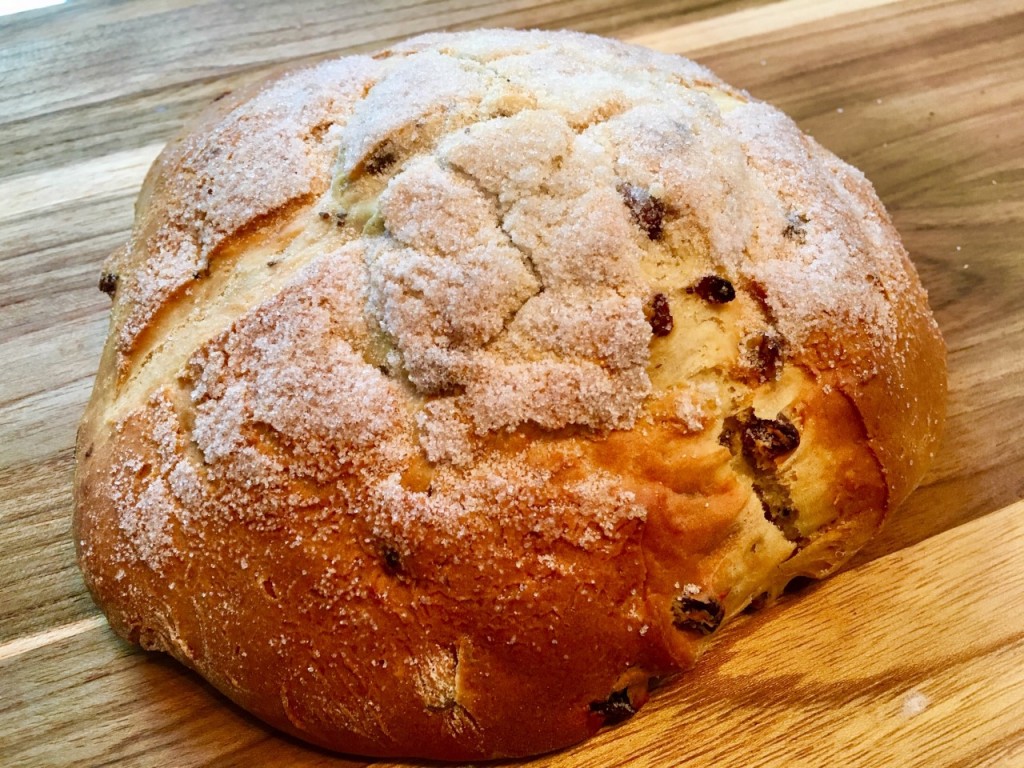
Not familiar with Irish Soda Bread?
The sugary top? The raisins? The “X” on top?
Many Irish soda bread recipes tell you that you need to make an “X” slashed into the top prior to baking.
According to history, there are a few reasons for this. Because Ireland is a primarily Catholic country, it may be in respect of the symbol of the cross and a blessing of the bread and giving thanks. It may also be to ward off the devil and to protect the household or most likely there is a more practical reason, like it allows the bread to stretch and expand as it rises. I also think that when you slash a cross into it you can easily divide the bread into breakable chunks.
I hope you enjoy making this as much as I do!
Happy St. Patrick’s Day!
Let me know what you think and don’t forget to share the love!
Twitter: FoodULuv
and on Instagram @thefooduluv
- 4 1/2 cups flour
- 2 Tbsp sugar
- 1 teaspoon salt
- 1 teaspoon baking soda
- 5 Tbsp butter
- 1 cup raisins
- 1 large egg, lightly beaten
- 1 3/4 cups buttermilk
- Preheat oven to 425°. Whisk together flour, sugar, salt, baking soda and set on the set. Whisk together just 4 cups of flour (saving 1/2 cup), the sugar, salt, and baking soda into a large bowl.
- Fold the butter into the flour, sprinkle in the raisins and by using your fingers, massage the butter into the mixture until it looks like grainy oatmeal. Now gently mix in the raisins.
- Make a well in the middle of the dough, add buttermilk, egg, knead into dough: Make a well in the center of the flour mixture. Add a beaten egg and buttermilk and mix in manually with a spoon until dough is too stiff to stir.
- Coat your hands with some flour, then knead dough in the bowl until it forms a, not so perfect, soft ball. Keep in mind that if the dough is too sticky or gummy add a little more flour to it.
- Bring your dough to a lightly floured counter top, cutting board or clean surface for you to shape it into an almost round loaf.
- Mold the dough just until the flour is moist and the dough barely stays together.
- Transfer your dough to a large, lightly greased baking sheet or cast iron skillet.
- Take a serrated knife and make a cross or X mark on the top of dough about an inch and a half deep. Essentially scoring the dough will help heat get into the center of the dough while cooking.
- Into the oven it goes and bakes until the bread is nice and golden and the bottom of the loaf sounds almost hollow when tapped. This should take about 35-45 minutes. When it's time, the bread is golden brown stick a toothpick into it and if it comes out clean, your bread is ready.
- Let it cool for 10 minutes before removing it from the skillet or pan. Eat !!!!
- Bake in preheated oven until a toothpick inserted into the center of the loaf comes out clean, 45 to 50 minutes. Check it after half an hour. If it is browning too fast, you can place a piece of foil on top of it.
- Tasty tip: Brush the loaf with butter half an hour into the baking process.
- You can also use currants instead of raisins if you like.